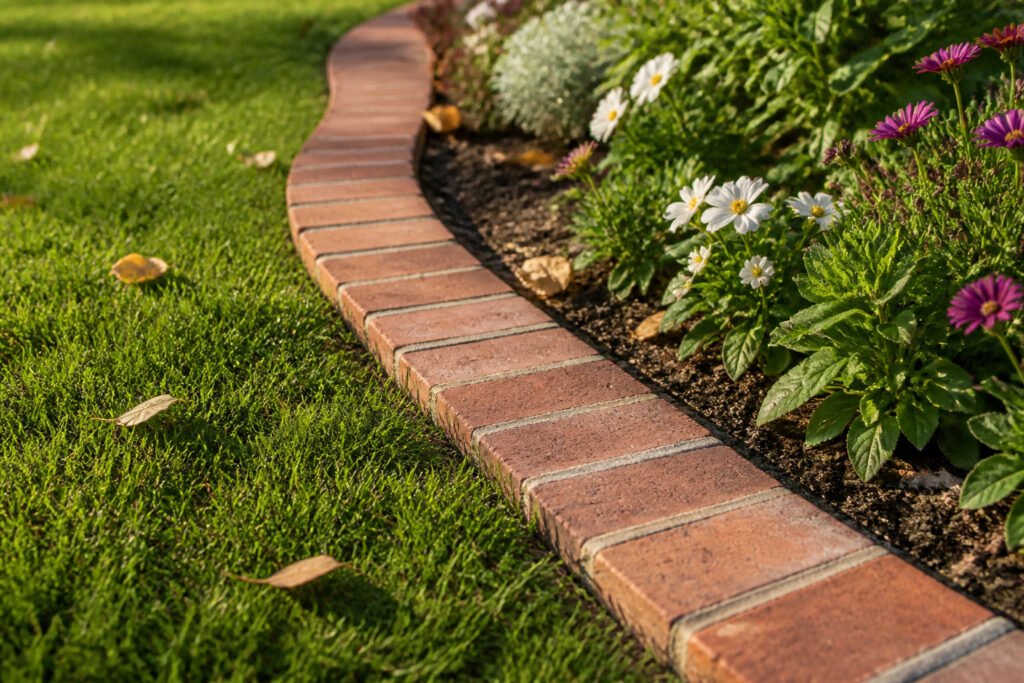
A brick garden edge flush with the lawn takes a weekend and roughly two dollars per linear foot, but only if the base layer gets tamped solid. Skip that compaction and the freeze-thaw cycles heave your line into a wavy trip hazard by spring. The telling detail is the mix six parts stone dust to one part Portland cement, brushed into joints and misted until it sets like grout without mortar’s mess.
1. Order the Bricks

A length of rope stretched along the garden bed’s edge catches every curve better than a tape measure alone. Mark where it ends, pull it taut, and measure in inches. Divide that number by 4, the standard brick width, to get your count. Add 10% extra for cuts and the brick that splits the wrong way; 324 inches of bed means 81 bricks, so you would order 89.
Clay pavers carry the SW rating for severe weather, the label to ask for at the stone yard. They handle freeze-thaw cycles without cracking, and the color range runs from traditional reds through browns and buff tones. Concrete pavers are the other option, though they age differently and the sources lean toward clay for longevity.
Actual brick dimensions can vary slightly, so it is recommended to measure a few before finalizing your order to ensure accuracy.
That variation means your math is a starting point, not a guarantee. Bring one sample brick to the yard and measure it yourself; the five minutes saves a second trip when the pallet runs short.
2. Scout the Curves
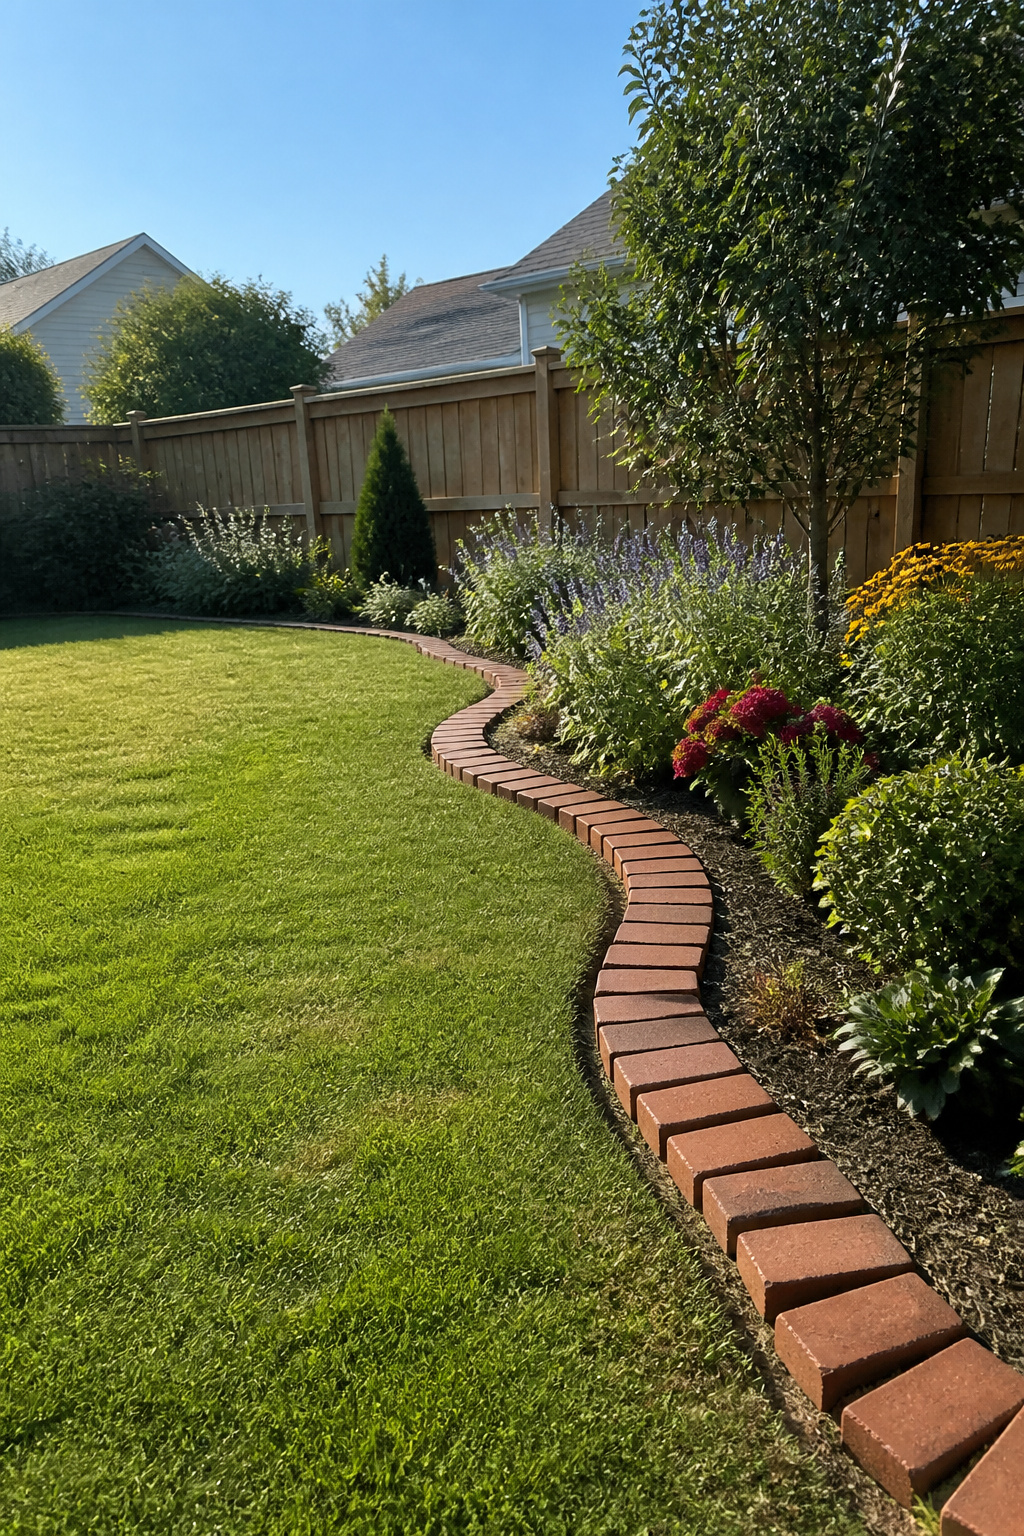
Bricks arranged along the lawn edge before a single shovel hits soil let you see what the finished line will look like while the mistakes are still free. I set mine down with a small gap between each one, wide enough for sand later but tight enough to read as a solid border from a few steps back. For soft curves, fanning the bricks slightly does the work; for a sharper turn, finding the peak and leaving a triangular gap no wider than a single brick keeps the arc smooth without cutting anything yet. The dry run also shows whether your initial spacing holds across the whole bed, or whether one stretch needs an extra brick or one fewer to keep the joints even once sand fills them.
3. Dig the Trench
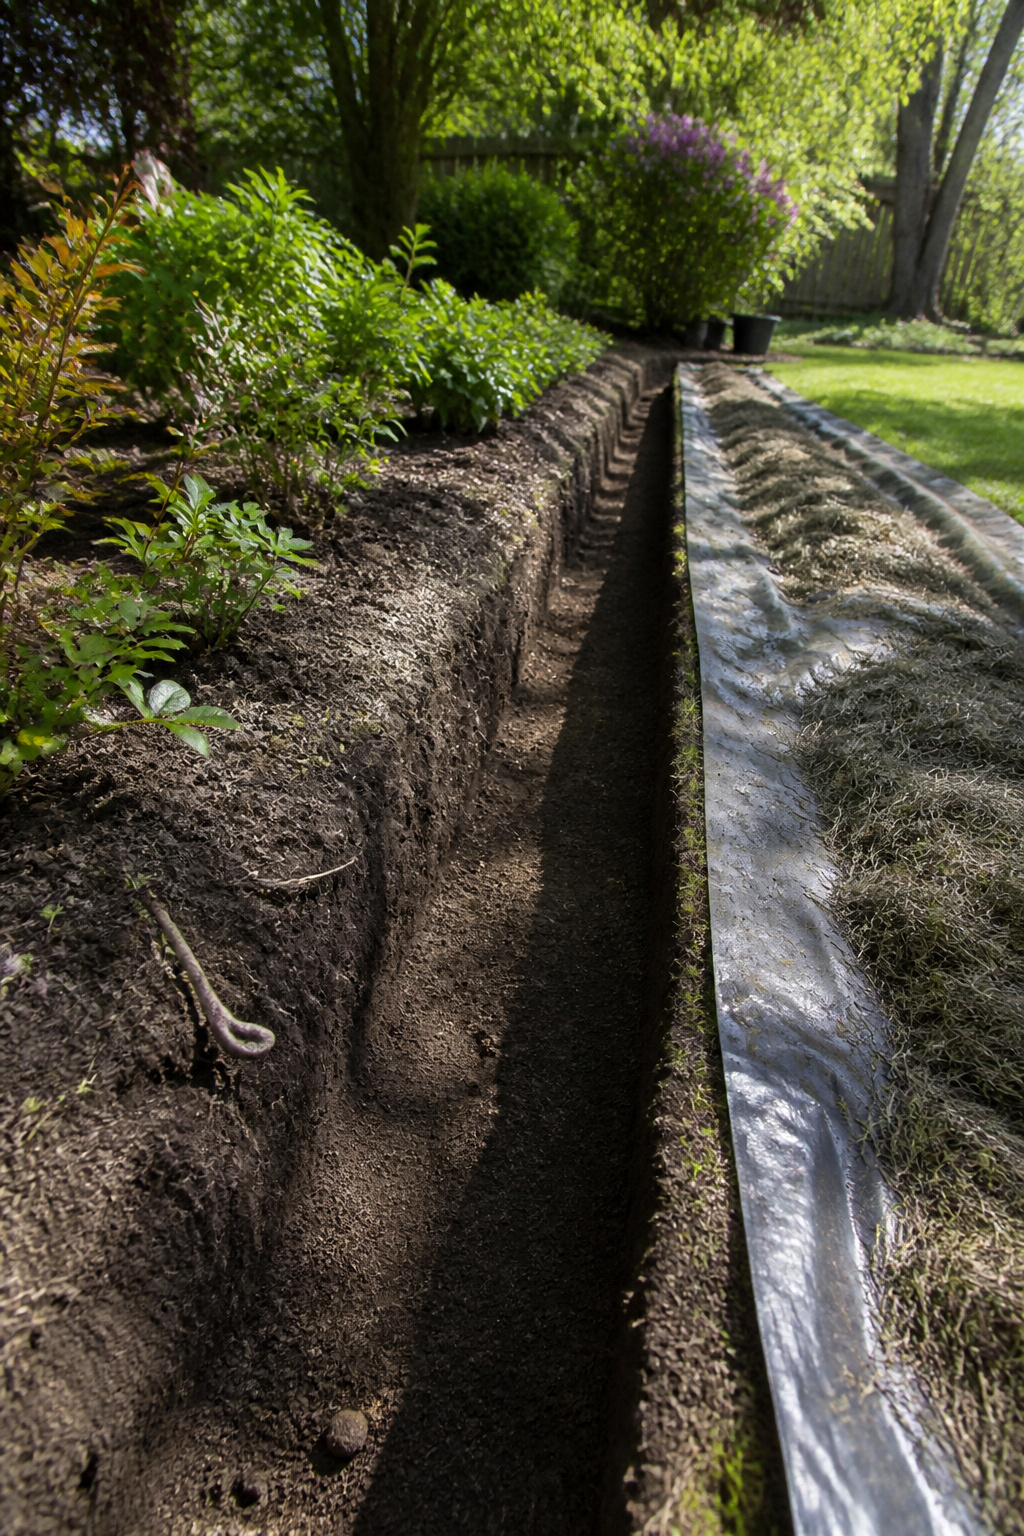
A tarp spread over the grass keeps the pile workable and the lawn clean. Dig straight-sided walls from the grass line into the bed, going about 6 inches deep and a few inches past the brick width on either side. That depth puts you through the topsoil and into the subsoil, which matters more than it sounds. Organic soil shifts with every freeze and thaw, and bricks left in that layer heave or settle in ways no amount of leveling later fixes. The finished trench should look like a narrow channel with firm, even walls, ready for the base layers to come.
4. Add a Base Layer
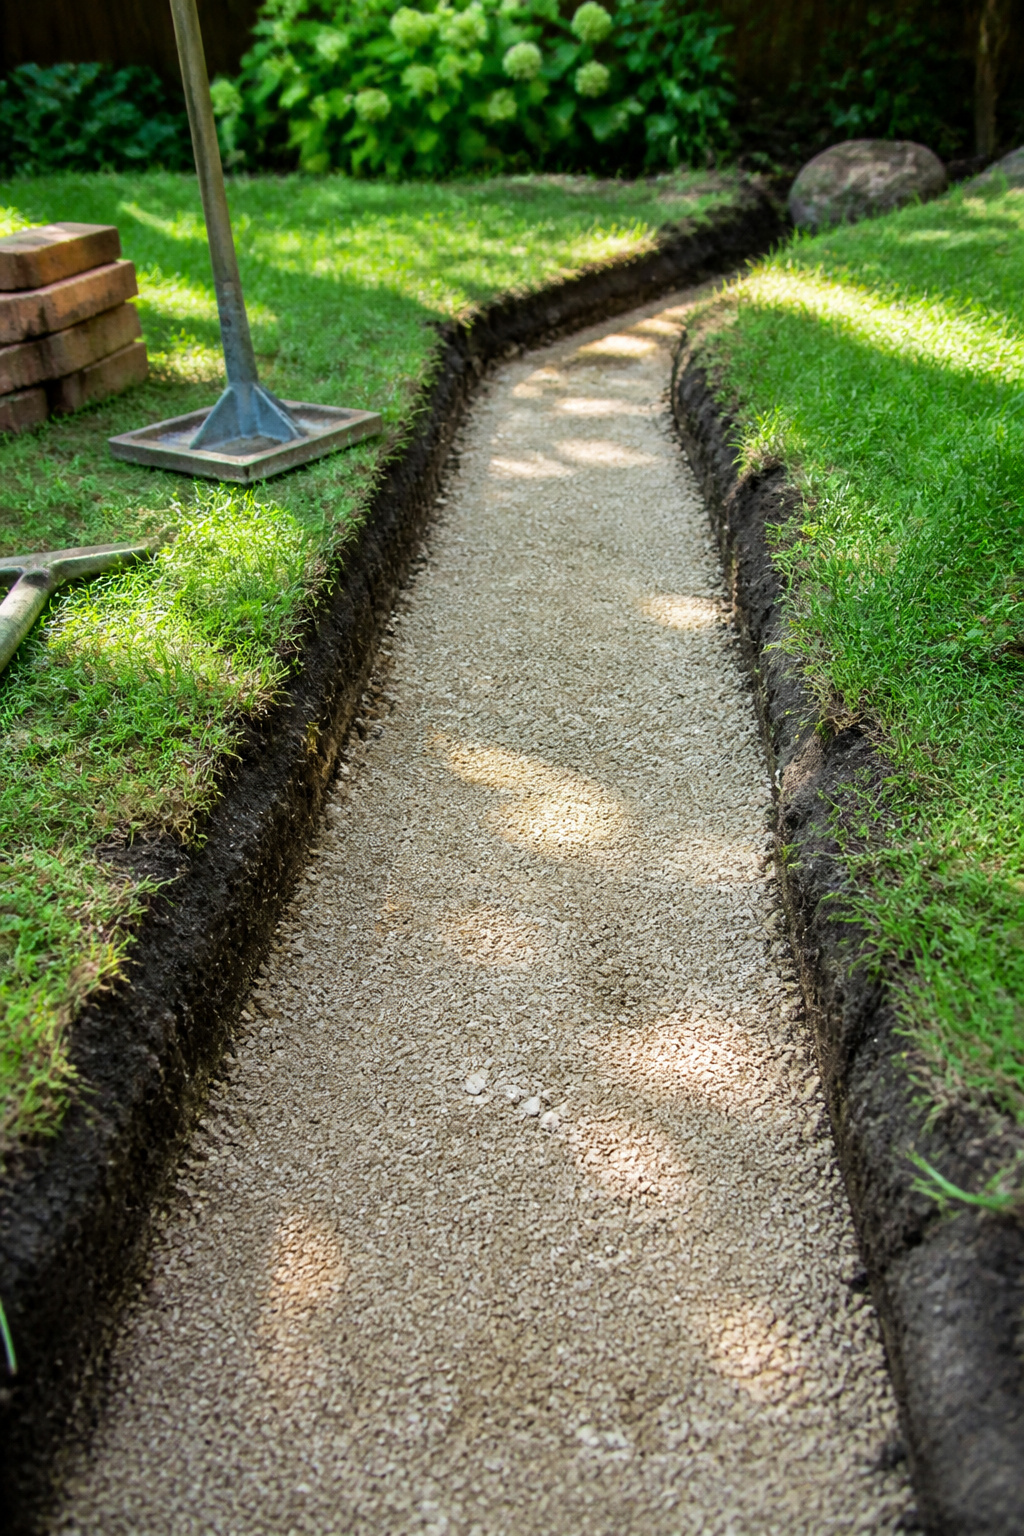
Paver base is the layer that separates a neat brick edge from a sunken, wavy line by spring. I spread two to three inches of it across the trench floor, working in small batches rather than dumping the whole bag at once. Each layer gets packed down with a tamper before the next goes on, and the difference between loose gravel and a solid surface is obvious underfoot. The compacted base gives water somewhere to drain instead of pooling underneath the bricks, but the real payoff shows up after the first hard freeze. When soil expands and contracts through freeze-thaw cycles, an untamped base shifts with it. A properly compacted two- to three-inch layer locks the bricks in place so they stay level through the winter. If the trench runs deeper than six inches below grade, keep adding and tamping paver base until the depth from the compacted surface to ground level equals your brick thickness plus one inch for the stone dust setting bed above it.
5. Mix and Add Stone Dust
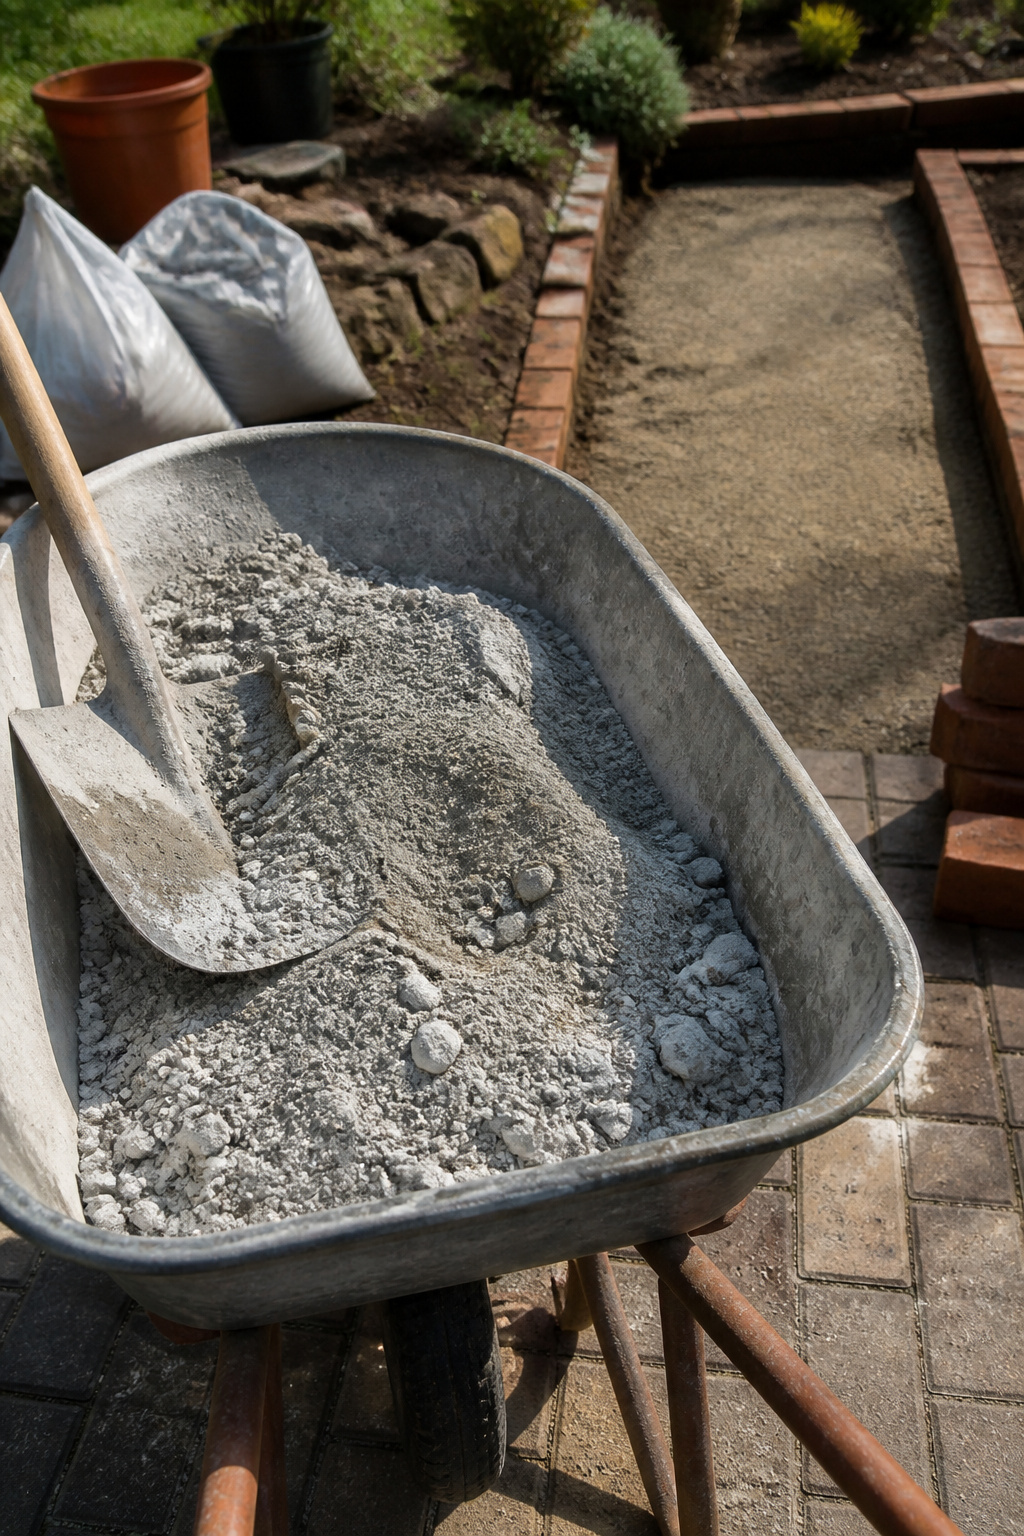
Stone dust alone shifts and settles over a season or two, especially where freeze-thaw cycles run through winter. Portland cement changes that. Mix six shovelfuls of stone dust to one shovelful of Portland cement, then mist the blend with a garden hose until it holds together without turning soupy. The moisture activates the cement just enough to make the mix workable and shovel-friendly.
Spread about an inch of this blend over your tamped paver base, working in sections a few feet long so nothing dries before you set bricks into it. Sand alone drains well but never binds; the cement in this mix locks the setting bed in place and keeps bricks from rocking or drifting apart after heavy rain. I have read enough accounts of edging that looked perfect in May and ragged by August to prefer the extra step.
6. Lay the Bricks
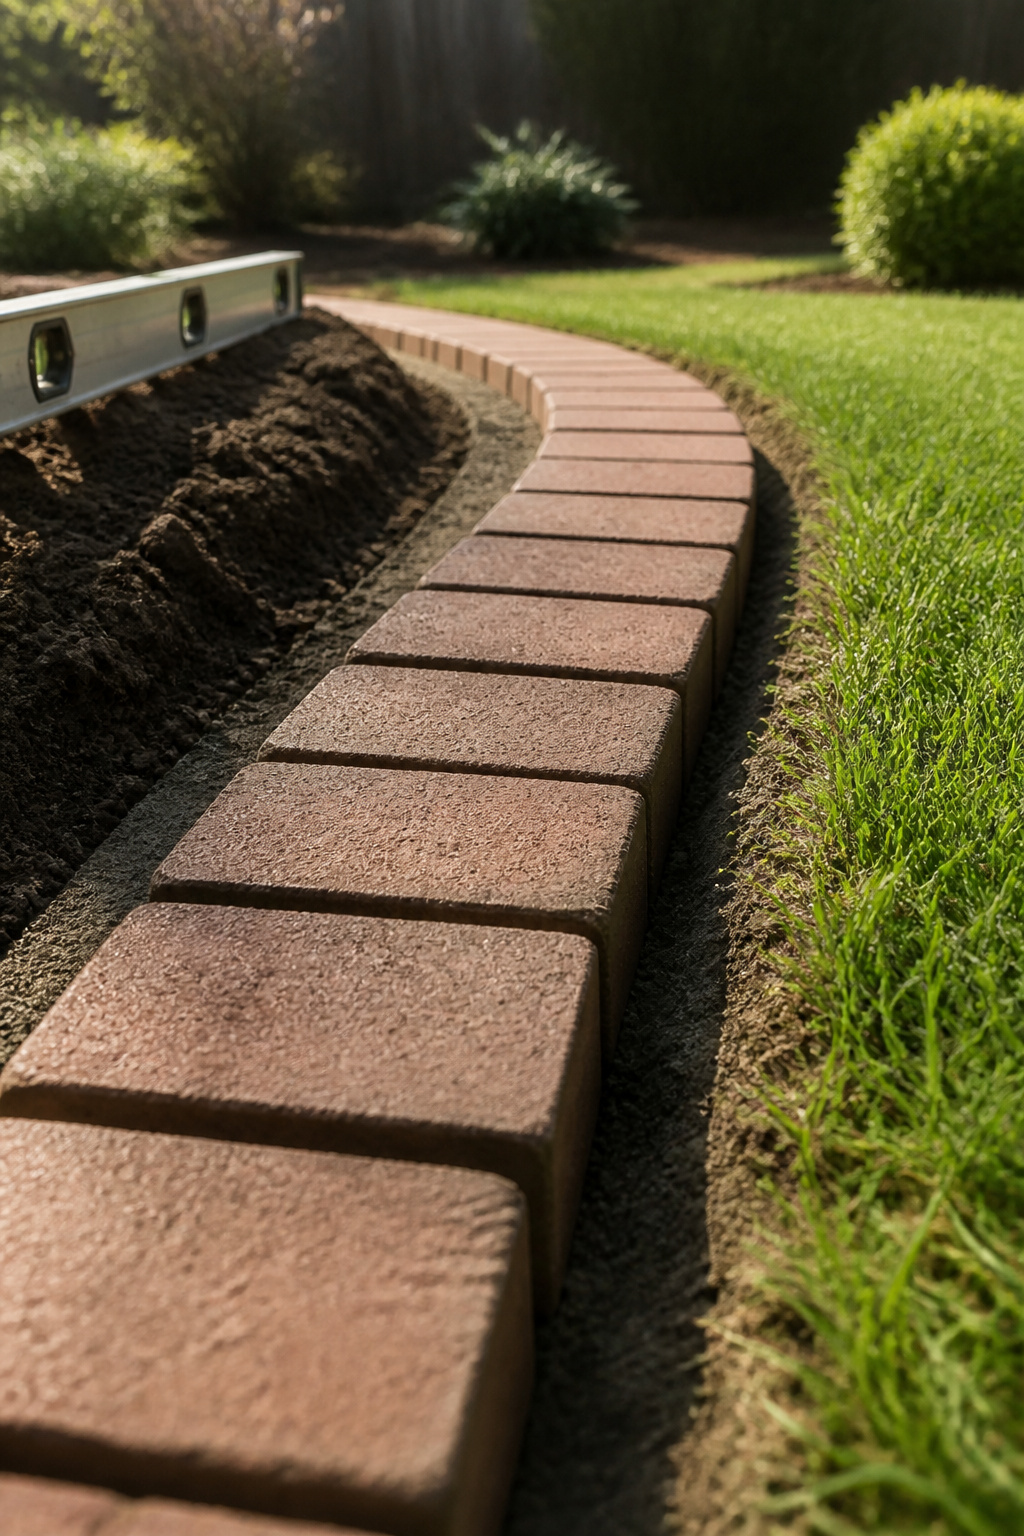
Stone dust goes down in sections a few feet long, spread with a trowel over the paver base. I press each brick in one at a time, tapping it flush with the ground on both sides of the trench. A 2-foot level checked every few bricks keeps the line true; if one sits high, a tap with the rubber mallet or a scrape away of base mix drops it into place. Low bricks need more stone dust packed underneath. Alignment drifts faster than you’d think, so I stop to sight down the row after every third or fourth brick, especially around curves where cut keystones need consistent gaps. The surrounding soil should meet the brick top evenly. That clean edge lets mower wheels roll over without catching or loosening the work over time. Once the row is set, leftover stone dust backfills the rear trench, then soil covers it.
7. Fill Gaps with Polymeric Sand
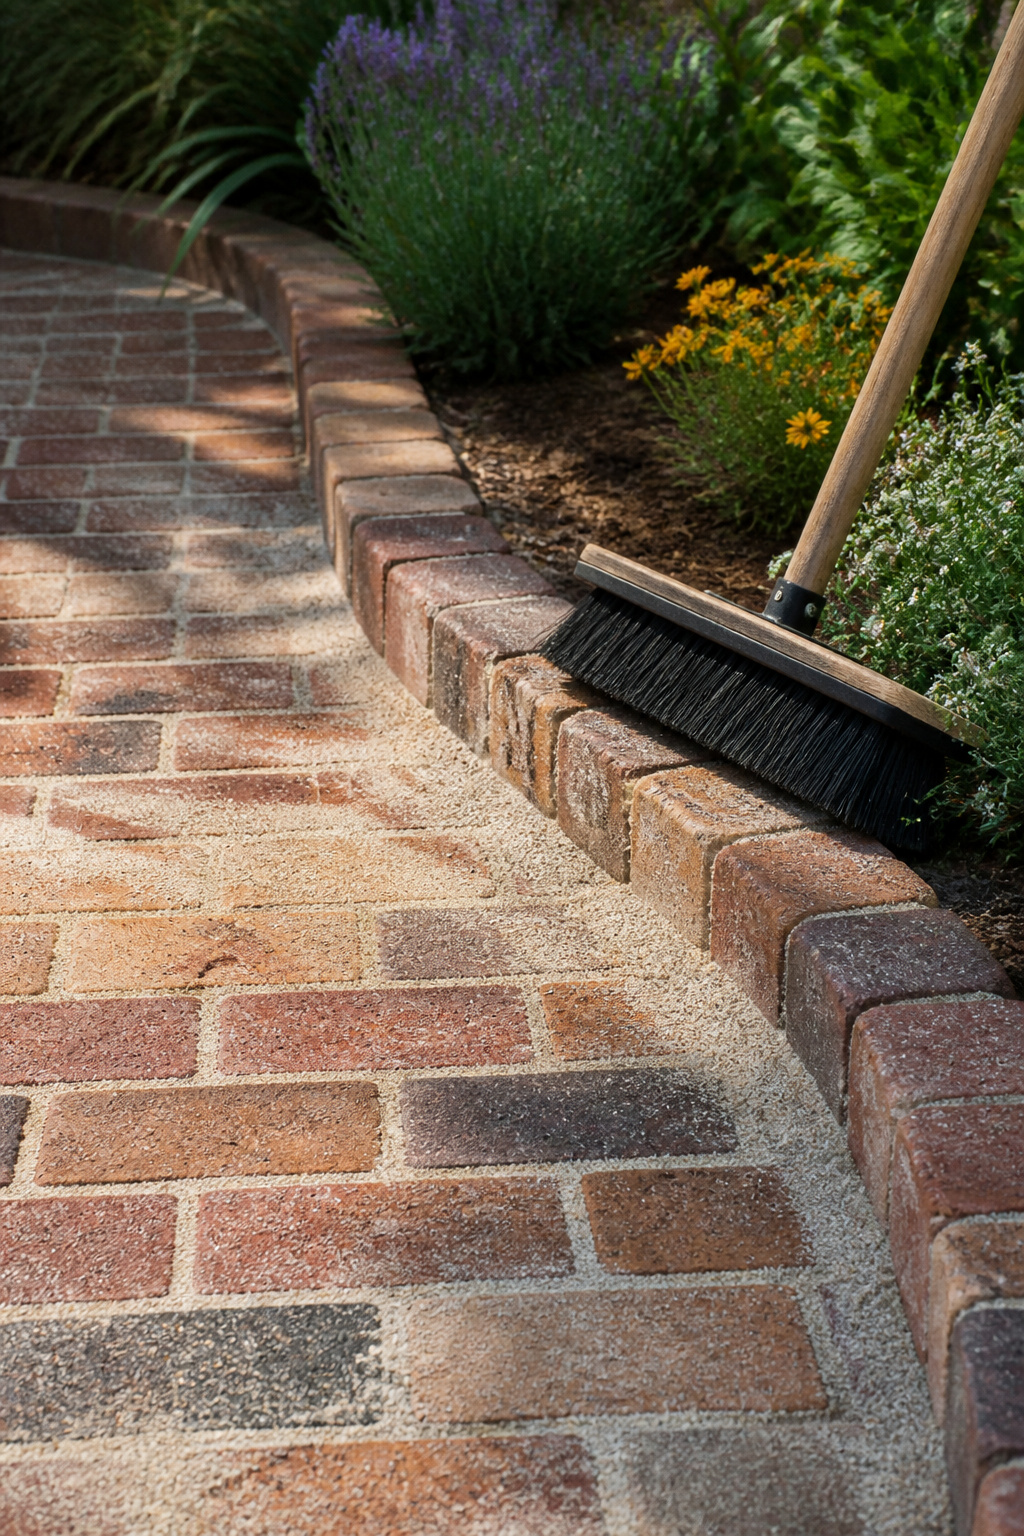
Polymeric sand is what turns a line of loose bricks into edging that stays put through freeze-thaw cycles and the occasional bump from a wheelbarrow. After the bricks are seated, sweep the sand across the surface and work it into every gap with a stiff brush. The particles are finer than masonry sand and carry a binder that regular sand simply lacks, which is why this step matters more than it looks.
Apply it only when the forecast is dry for the next couple of days. Rain before the polymer sets will glue sand to the brick faces, and that haze does not wash off easily.
Once the joints are full, tamp the bricks again with a rubber mallet to pack the sand tight. Brush off every speck of excess from the tops, then mist the whole edge with a gentle spray. The trick Roger Cook used to repeat is to dampen without dislodging, running the hose just hard enough to wet the joints without pushing the sand back out. The sand absorbs the water, hardens, and locks the bricks in place for years, essentially grouting your edging without the mess of mortar.
8. Secure the Edging
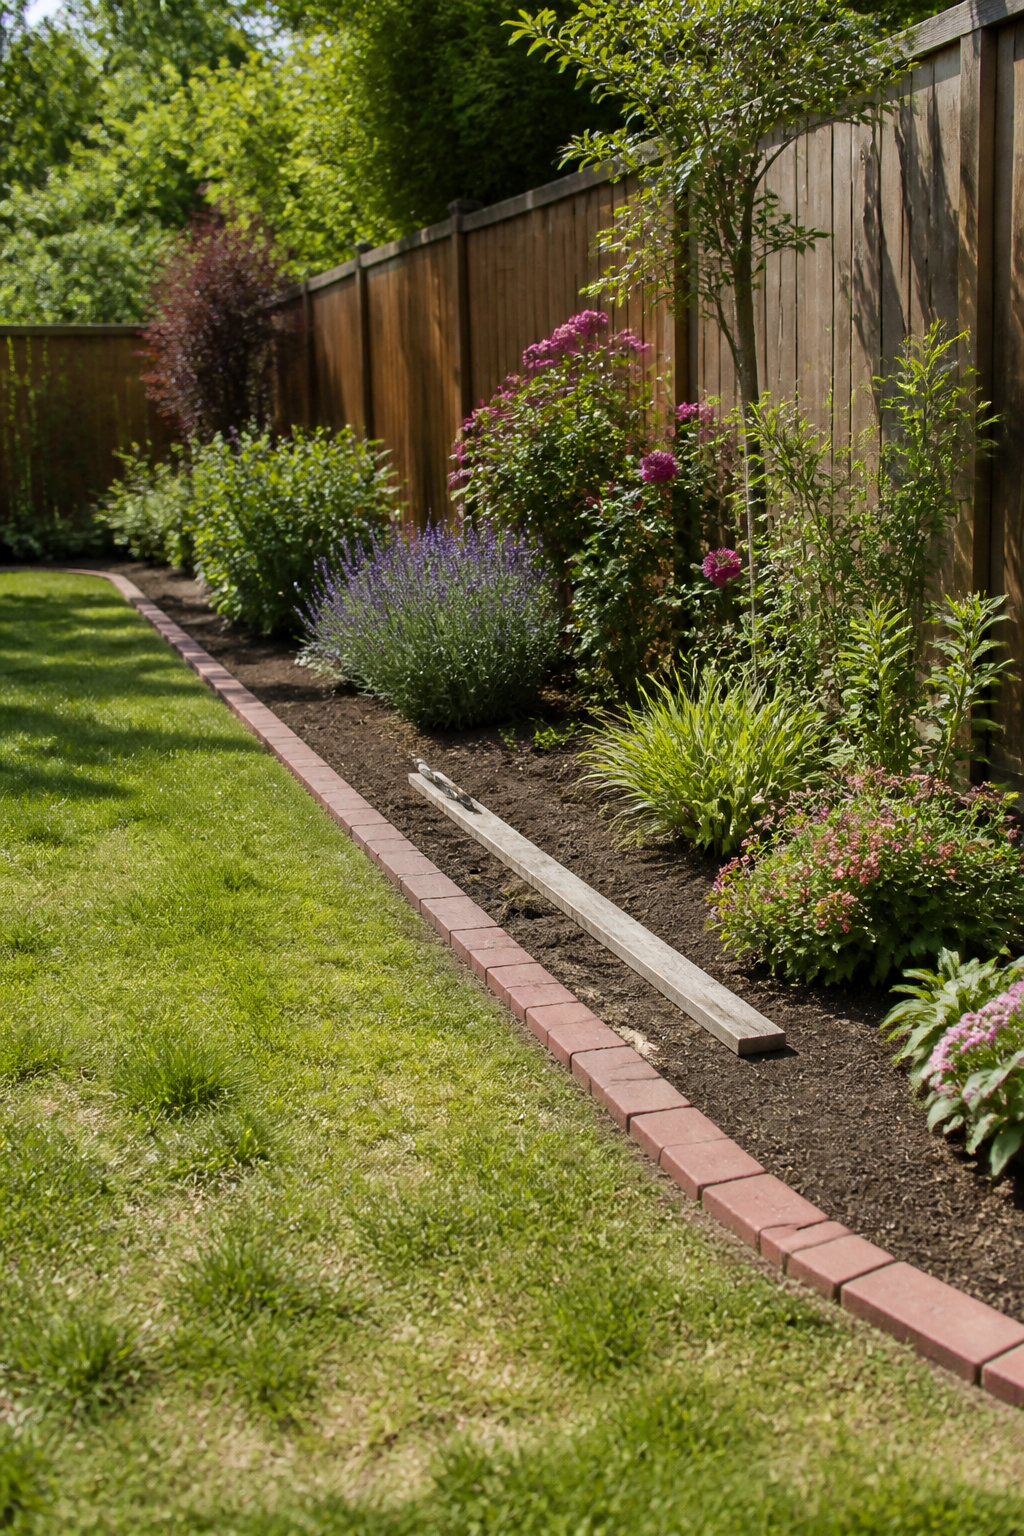
Backfill the trench with the soil you set aside, packing it against both sides of each brick with your hands before you tamp. The goal is pressure without movement: firm enough to eliminate gaps, gentle enough that the level line you checked stays level. I use the end of a two-by-four, pressing straight down rather than pounding, because a mallet can knock a freshly set brick off its mark before the surrounding soil locks it in.
The finished edge should sit flush with the ground on both sides, so a mower wheel rolls over without catching and the line stays clean through the season’s first hard rain. That flush fit is what separates a border that holds from one that slowly migrates. In freeze-thaw country, a plastic paver edging restraint along the outside face adds insurance against heave, though on my own beds the tight backfill has been enough once the soil settles a week or two. Give it that time, then walk the line and pack any soft spots that opened as the ground found its new shape.
Types of Bricks
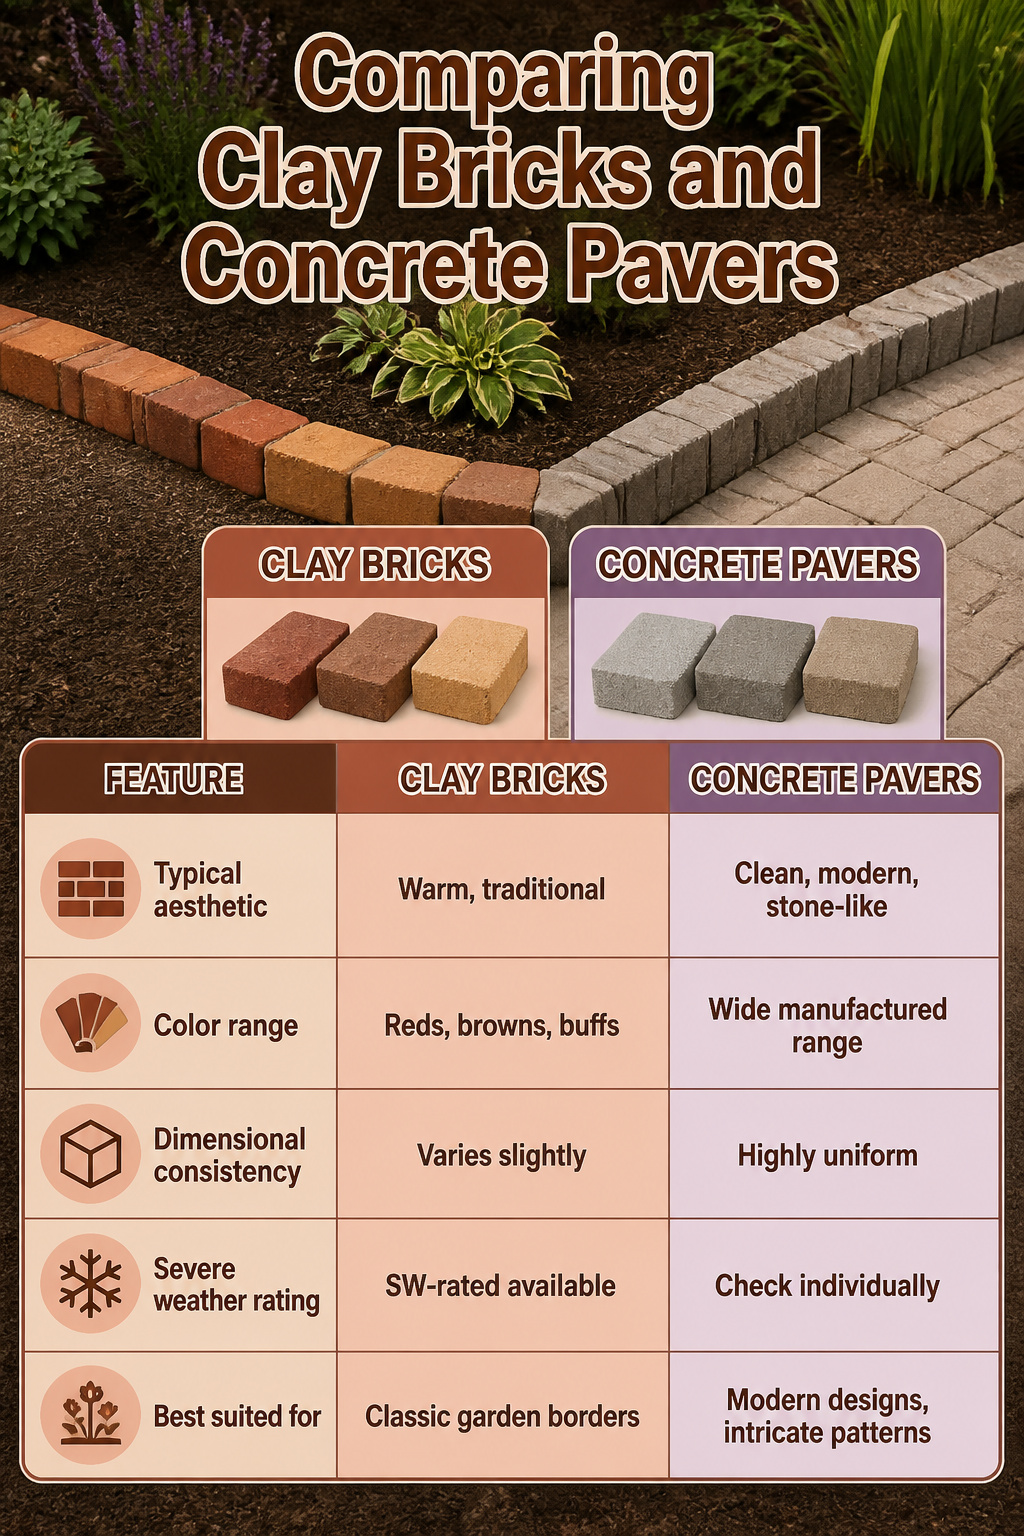
Clay bricks carry the warm, timeless look most people picture when they think of garden borders, with reds, browns, and buff tones that age into the landscape. Concrete paver bricks trade some of that character for consistency: manufactured sizes and finishes make them easier to set in clean lines or intricate patterns, and many now mimic natural stone close enough to fool a second glance.
The real difference shows up after winter. SW-rated clay bricks are built for severe weather, meaning they survive freeze-thaw cycles without the cracking that ruins standard pavers in cold zones. If your local stone yard stocks both grades, the weather rating is worth the slight premium for edging that stays intact past the first hard spring.
| Feature | Clay Bricks | Concrete Pavers |
|---|---|---|
| Typical aesthetic | Warm, traditional | Clean, modern, stone-like |
| Color range | Reds, browns, buffs | Wide manufactured range |
| Dimensional consistency | Varies slightly | Highly uniform |
| Severe weather rating | SW-rated available | Check individually |
| Best suited for | Classic garden borders | Modern designs, intricate patterns |
Installation Tips
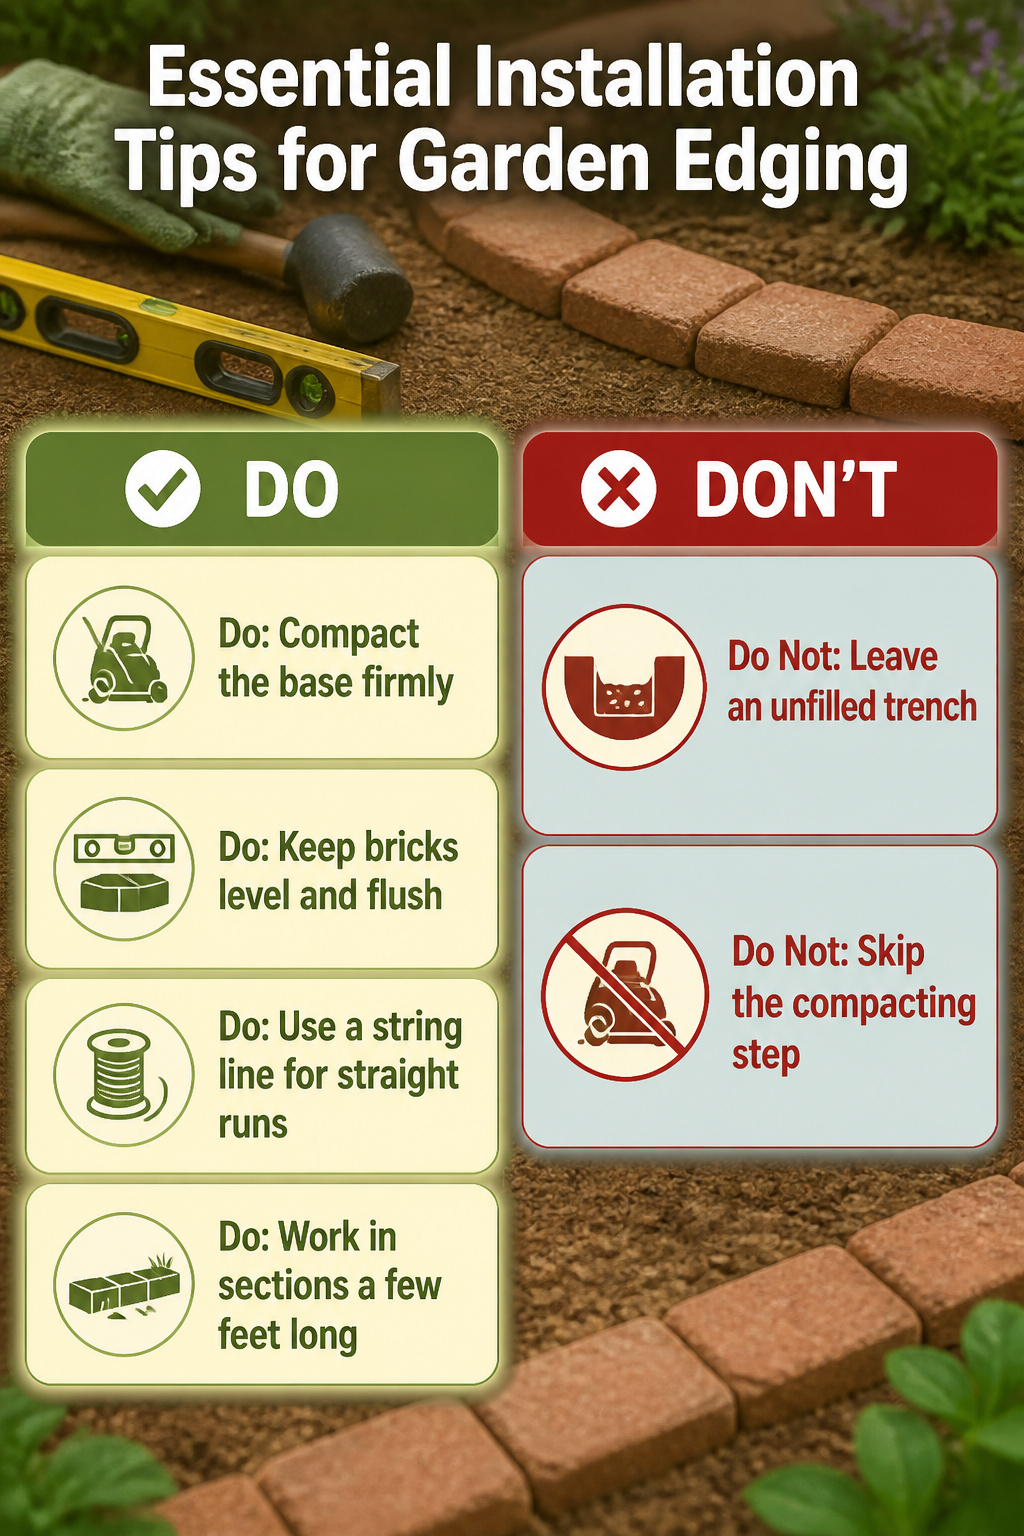
A few habits separate edging that holds its line from edging that drifts after the first hard rain.
- Compact the base until it does not shift underfoot. Sources disagree on exact material, some using 2 to 3 inches of compacted gravel topped with sand, others setting bricks directly in stone dust or even dry concrete. What none of them skip is the compacting itself. Organic soil beneath the trench moves with moisture and temperature changes; bricks heave or settle unevenly if they sit on it uncompressed.
- Keep bricks level, flush with the ground on both sides. This lets mower wheels roll over without catching, and it keeps the row from loosening over time. A level checks each brick; a rubber mallet taps high ones down or coaxes sand under low corners.
- Run a string line for straight sections, especially when working in short runs. The sources that mention it tie string to a fixed point and measure each brick against it. I find this matters most at corners and curves, where the eye catches drift first.
- Work in sections a few feet long and finish each before moving on. An open trench is a flooded trench if weather turns. Backfill and tamp as you go so rain does not wash away your base or slump your walls.
Design Options
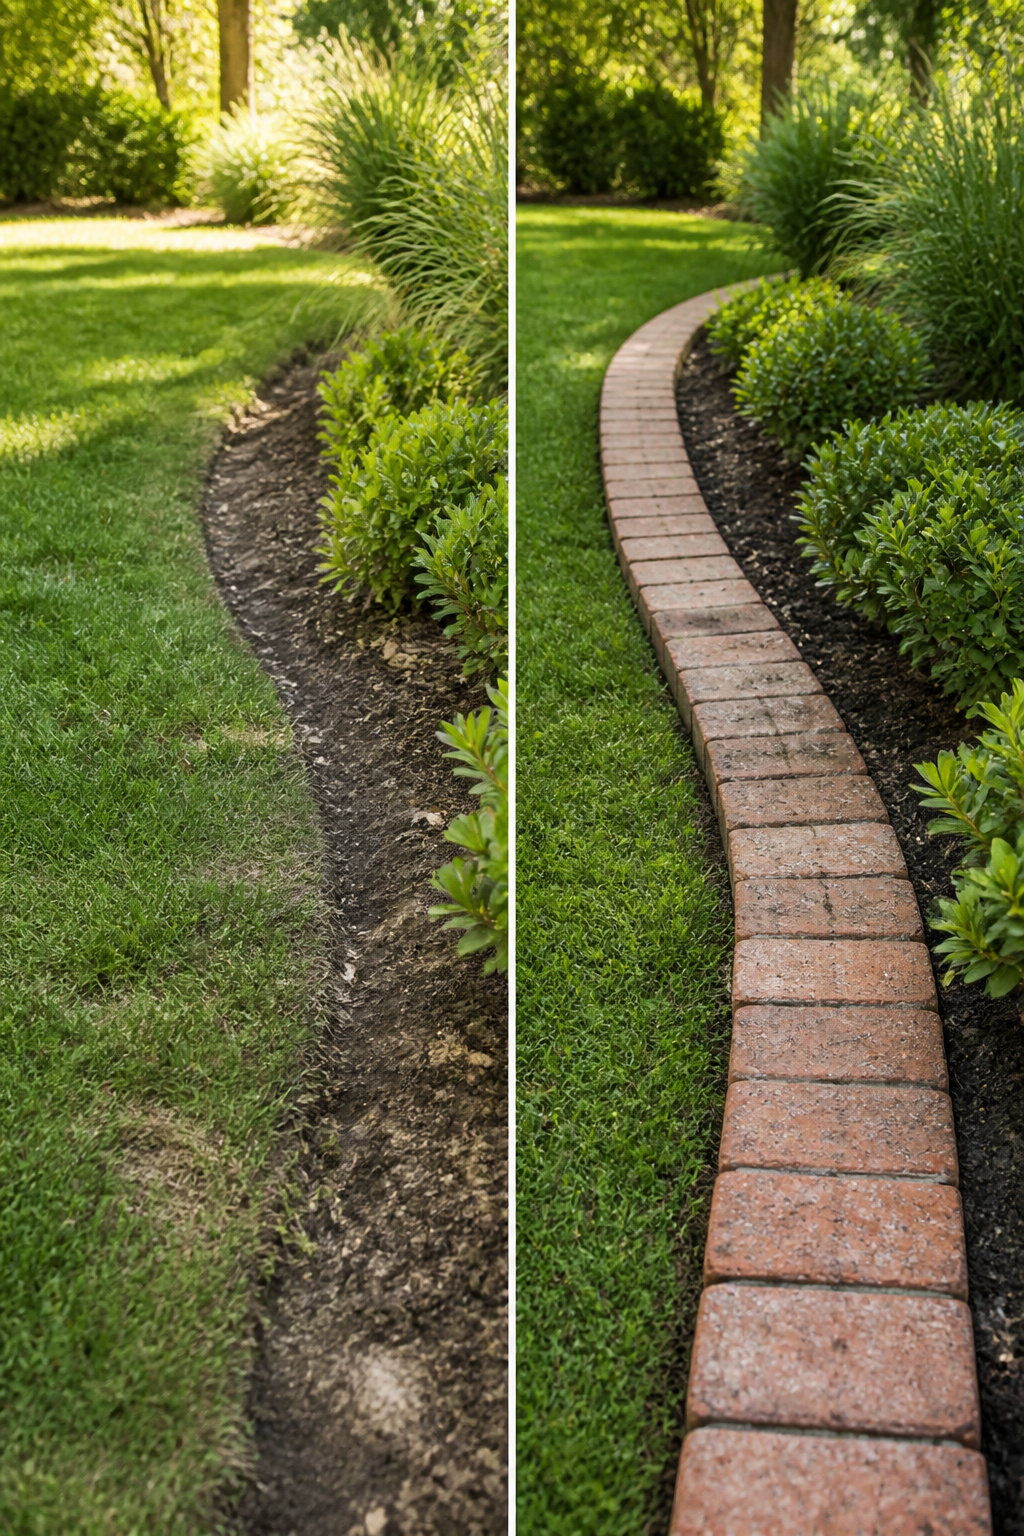
Brick garden edging comes in three basic styles, and the one you choose changes how much work the edge does versus how much work it asks of you.
- Flat-lay bricks sit flush with the soil, giving a low, quiet line that defines the bed without becoming a trip hazard. This style suits wide, gentle curves and gardeners who want a finished look that still lets a mower wheel ride right over it. The tradeoff is less holding power; mulch can still spill, and grass roots creep underneath more easily.
- Raised-edge bricks stand on end or sit slightly above grade, creating a lip that physically blocks mulch and grass migration. I find this style worth the extra profile when a bed sits against turf I do not want to trim by hand every week. It also channels runoff on level ground, though steep slopes are better handled by metal or concrete that can anchor deeper.
- Curved borders work with any brick orientation, but the radius matters. Gentle curves let standard rectangular bricks fan with small, even gaps. Tight curves need more cutting or smaller pavers, and the labor jumps fast. If your garden shape is mostly straight with one soft arc, flat-lay handles it cleanly. A serpentine bed rewards the raised style, where the vertical lip disguises the uneven joints that curves force.
For my own small yard, raised edging won after one season of flat-lay let the lawn march three inches into a peony bed. The mower still clears the lip, and I trim maybe twice a season now, not twice a month.
Maintenance
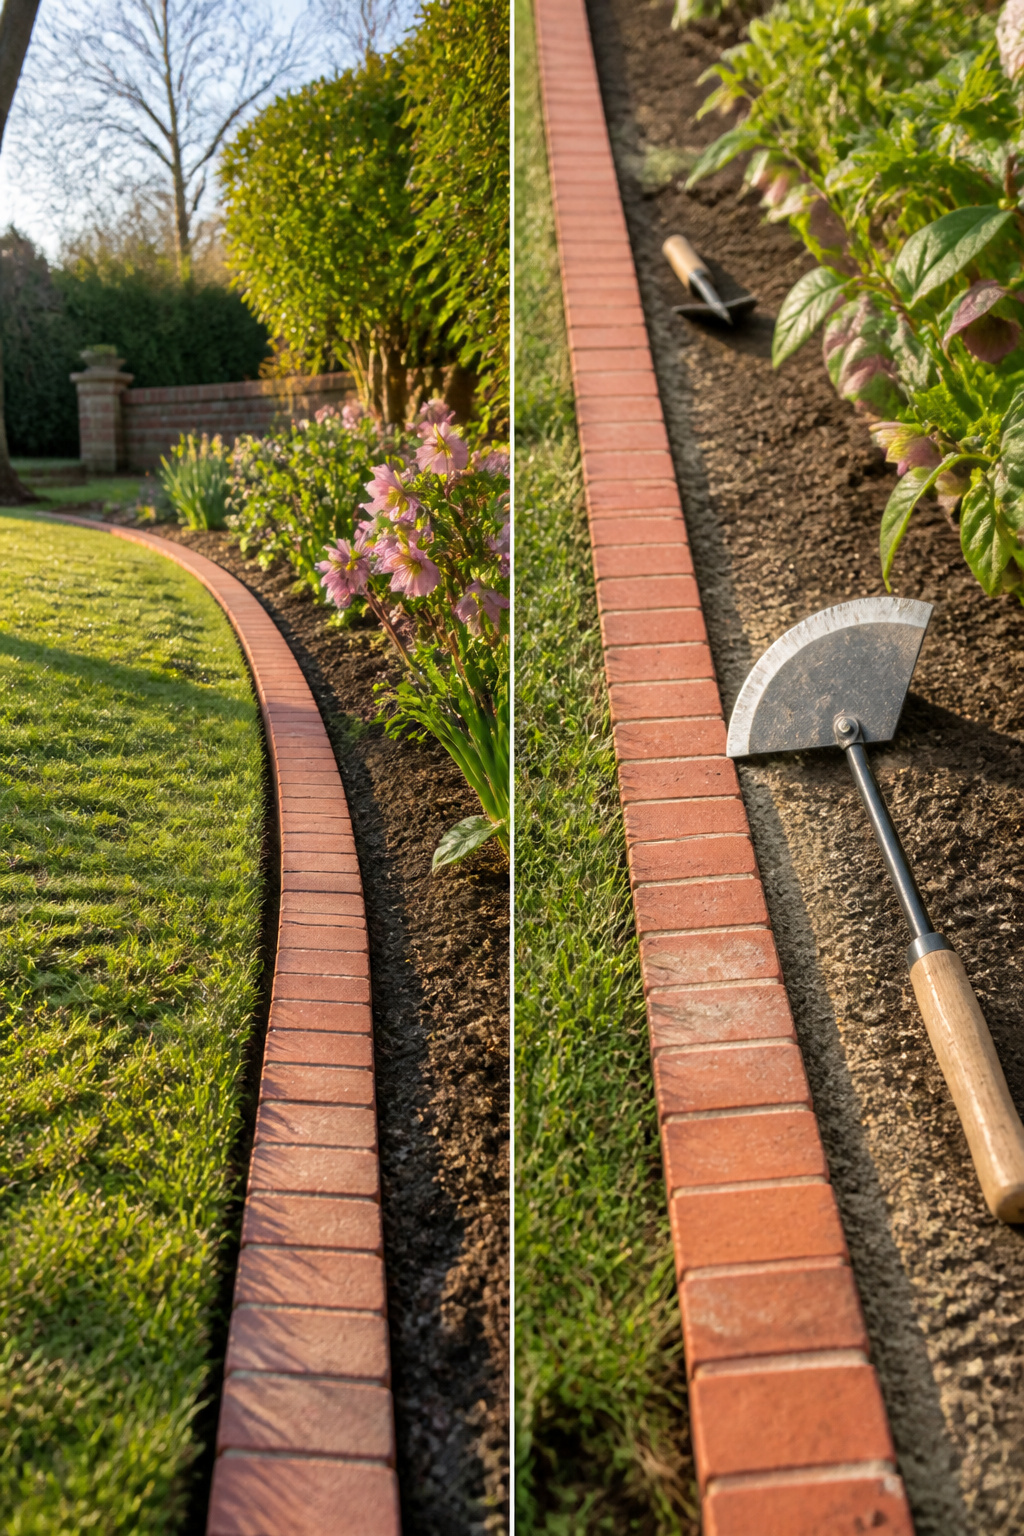
A brick edge left alone will vanish under grass in two seasons. The maintenance is light, but it is specific.
- Check the line after hard freezes. Ground heave shifts bricks in freeze-thaw regions; a walk in late March usually shows which ones lifted or drifted. Reset any that sit proud before summer growth covers the trench.
- Reset bricks by lifting them out, scraping the old sand flat, and tapping them back snug against their neighbors. A firm, compacted base is what keeps the border from drifting as the soil settles, so add fresh stone dust if the bed has washed thin.
- Top off joints with polymeric sand once a year, or wherever water has washed it out. Apply only when the forecast is dry; rain within a couple of days can stick the sand to brick faces before it sets. Dampen with a gentle spray, enough to activate the binders without pushing sand out of the cracks.
- Keep the edge visible. Grass rhizomes creep over low borders by midsummer. A half-moon edger run along the outer face every few weeks saves the line from disappearing entirely.
Frequently Asked Questions
What kind of brick should you use for garden edging?
Choose solid face bricks rated SW for severe weather. These clay pavers are fired at higher temperatures, making them denser and less porous so they survive freeze-thaw cycles without cracking or spalling. The SW rating matters most in cold climates where standard pavers fail after the first hard winter.
How deep should brick garden edging sit?
Dig the trench about 6 inches deep, extending a few inches past the brick width on either side. This depth gets you through the topsoil and into the subsoil, which prevents frost heaving and keeps the bricks from shifting as organic soil expands and contracts.
Should I install brick edging myself or hire a contractor?
Simple straight or gently curved beds are straightforward DIY projects with basic tools and a free weekend. Complex designs with tight curves, multiple levels, or intricate patterns may need a contractor who can handle precise cuts and ensure the base compacts properly across the full run.